DOSBox install and first timers guide
Learn about DOSBox, a brilliant yet compact, easy-to-use virtualization program designed to run old DOS applications under modern operating systems.
5 minutes
Sep. 2022, revise texts for DOSBox v0.74-3.
Refreshed, enlarged and included new screenshots for Windows 11.
Tip using Ko-fi or Buy Me a Coffee
DOSBox is a brilliant yet compact, easy to use virtualisation program designed to run old DOS applications under modern operating systems. This tutorial assumes you have a little understanding of the underlying DOS commands and the use of a command line. It is for Windows users, though DOSBox works on systems such as macOS and Linux.
Installation
Download DOSBox from their website.

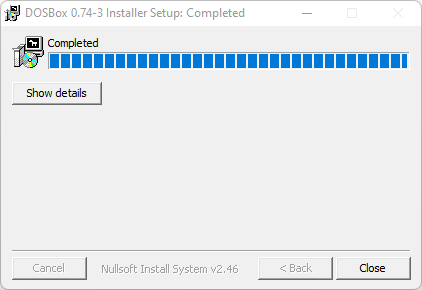
Run and install the newly downloaded DOSBox installer program. Windows users must select Yes at the User Account Control prompt.
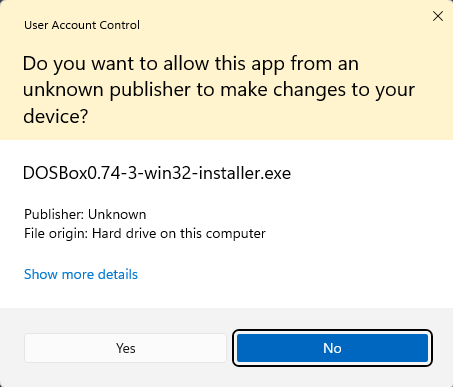
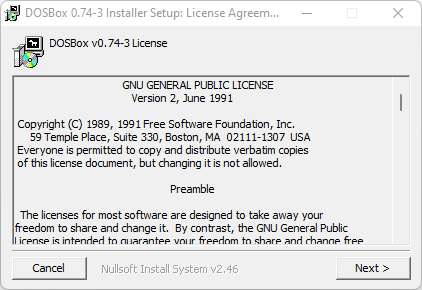
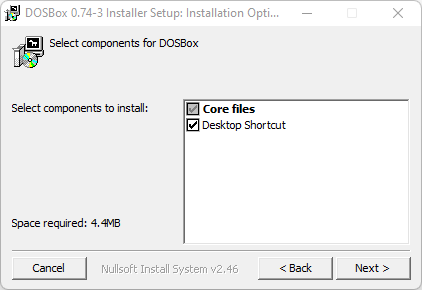
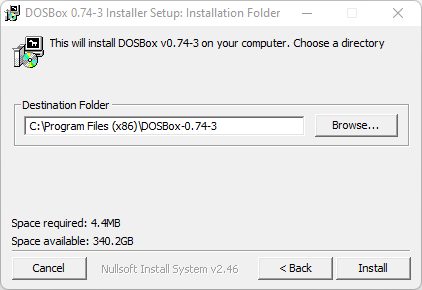
Follow the defaults if you don’t understand the installation questions or prompts.
Start menu
Once installed, you should have a new DOSBox entry in the Start menu of Windows.
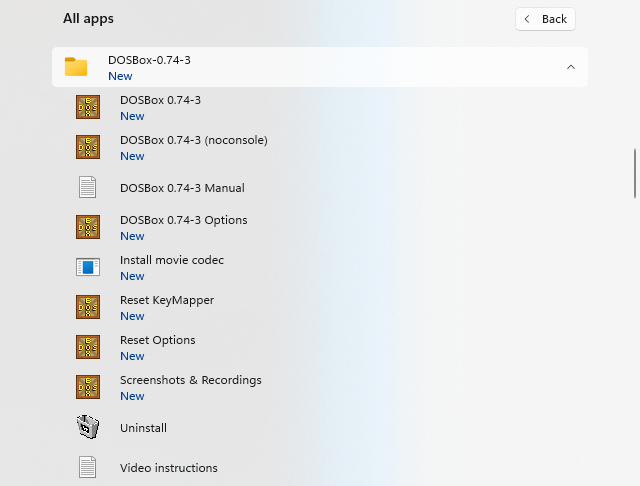
DOSBox 0.74-3 is a shortcut to run DOSBox. It defaults to load a partner debugging console, which helps troubleshoot the emulated DOS games and applications.
DOSBox 0.74-3 (noconsole) runs DOSBox without the debugging console.
DOSBox 0.74-3 Manual is the extensive DOSBox instruction manual in plain text.
DOSBox 0.74-3 Options loads up the configuration file used by DOSBox. It is a text-only, INI settings file that is human-readable and editable.
Install movie codec Installs the Zip Motion Block Video codec onto your computer. It allows DOSBox to record any DOS sessions as video captures. The menu item needs to be Run as administrator; otherwise, the installation can fail.
Reset KeyMapper will return the DOSBox control and function keys to their defaults.
Reset Options will return the DOSBox configuration file to the defaults.
Screenshots & Recordings launches Windows File Explorer to browse the DOSBox screen, audio and video captures.
Uninstall will remove DOSBox from your computer.
Video instructions loads up a small plain text file with instructions for creating movies from the DOSBox screen output.
Virtual hard drive
The first requirement for DOSBox will be to create a directory location to store and access DOS applications or games for emulation. The directory will function as the virtual hard drive within DOS.
You need to run the DOSBox Options start menu item to edit the DOSBox settings, and it should open up a configuration INI file within Windows Notepad.
You will see rows of text and settings within the file, most of which contain short descriptions. All the rows that start with hashes # are comments that DOSBox ignores. Scroll down to the bottom of the file, and you should see [autoexec]. This section is where to type DOS commands that DOSBox will automatically instigate every time it starts.
246[autoexec]
247# Lines in this section will be run at startup.
248# You can put your MOUNT lines here.
Launch the Windows File Explorer by tapping the Windows key
⊞ type file explorer and hit
Enter.
In the File Explorer address bar enter %HOMEPATH% to navigate to the home directory.

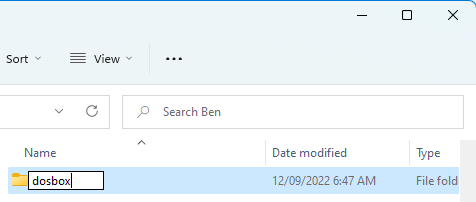
Create a new directory named dosbox.
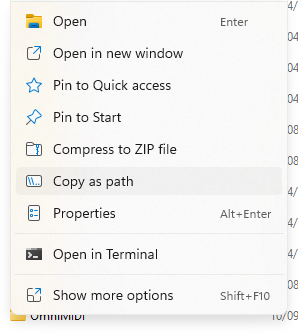
Right-click the dosbox directory and select Copy as path.
Paste the copied path to the [autoexec] section of the dosbox-0.7.4.conf configuration file.
246[autoexec]
247# Lines in this section will be run at startup.
248# You can put your MOUNT lines here.
249"C:\Users\Ben\dosbox"
Finally, update the [autoexec] section to mount the dosbox subdirectory as a DOS, C drive.
246[autoexec]
247# Lines in this section will be run at startup.
248# You can put your MOUNT lines here.
249MOUNT C "C:\Users\Ben\dosbox"
250C:
The first line tells DOSBox to mount the directory C:\Users\Ben\dosbox as a virtual hard disk and assign it the drive letter C.
The following line tells DOSBox to change to the C: drive on startup.
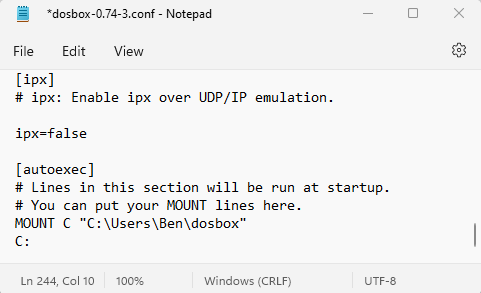
Don’t forget to save the changes.
Now run DOSBox using the Start menu entry.
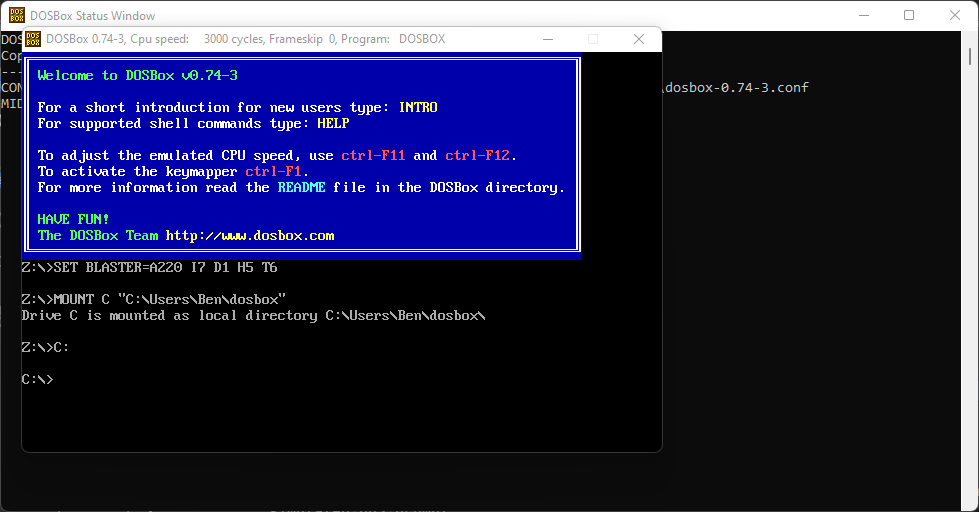
Virtual DOS
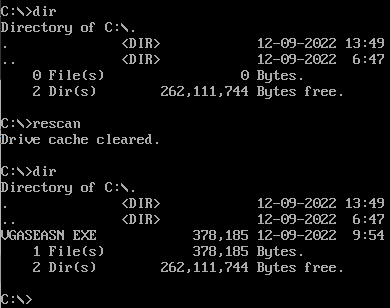
To list the content of your hard drive in DOS, use the command DIR, which presumably is short for directory list.
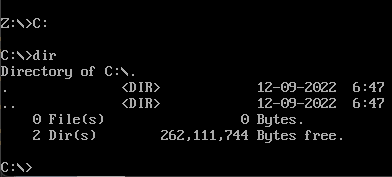
Currently, this reveals that the C: drive is empty.
Back in Windows, download the DOS application vgaseasn.exe from thelarkins.com and save it to the dosbox directory we created earlier.
http://thelarkins.com/fun/SierraChristmas/1992/
It’s an old, DOS VGA Christmas card demo created by Sierra Online in the early 1990s.
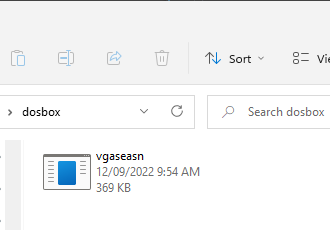
Now, if you return to DOSBox and type dir, the C: drive will still list as empty. DOSBox caches the drive on startup; to refresh the cache, use the rescan command or the
Ctrl+F4 key combination to reflect external file and directory changes.
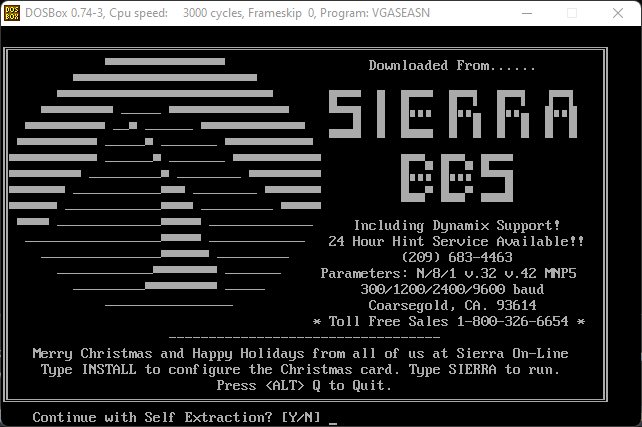
Run the program vgaseasn, and you should be prompted with the question Continue with Self Extraction. Answer Y.
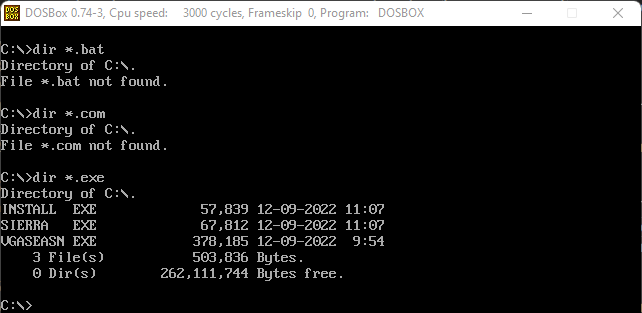
In DOS, most programs either used a file with a .BAT batch file, .COM command file, or commonly, an .EXE execute program extension to run.
Use the dir *.exe command to list only the files with the execute program file extension. You will see at least two files listed, install.exe and sierra.exe.
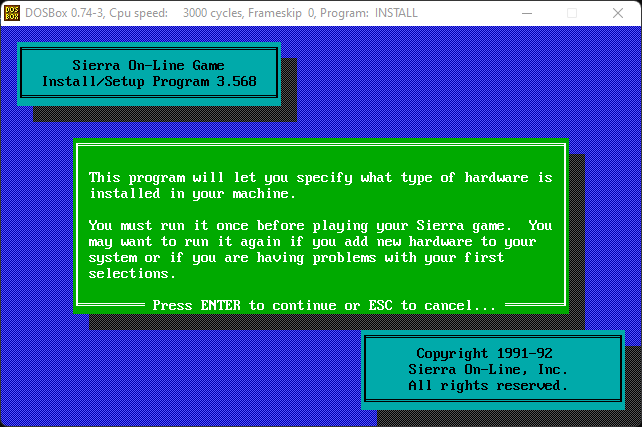
Run the install.exe by typing install. It should load, and the Sierra On-Line Game Install/Setup Program dialog will appear. Press
Enter to skip the text.
In the menu titled Installation Choices will have a list of hardware selections. Use the keyboard arrow keys ⬆️+⬇️ to highlight the menu items and press Enter to select.
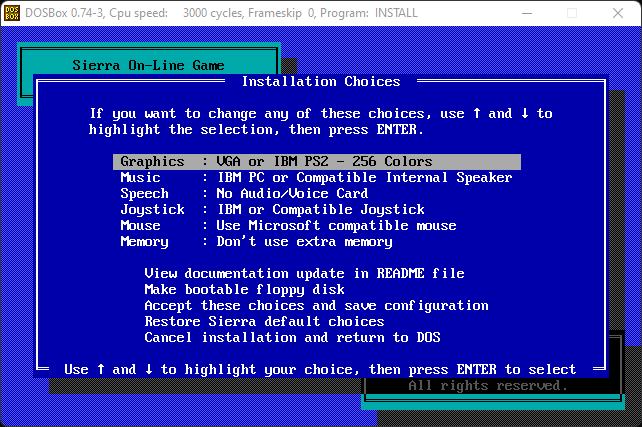
The installation program is clever enough to mark ✓ the hardware options available to the host.
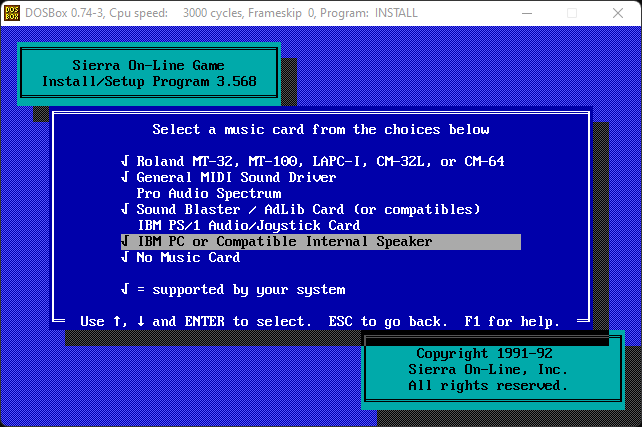
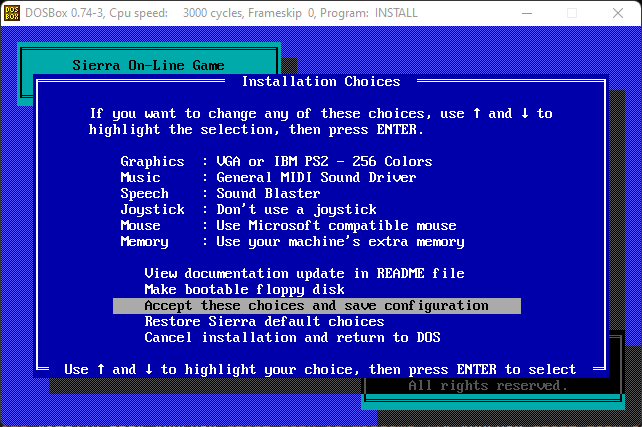
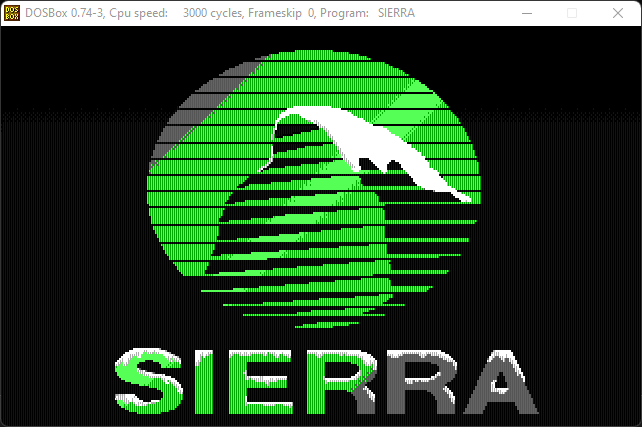
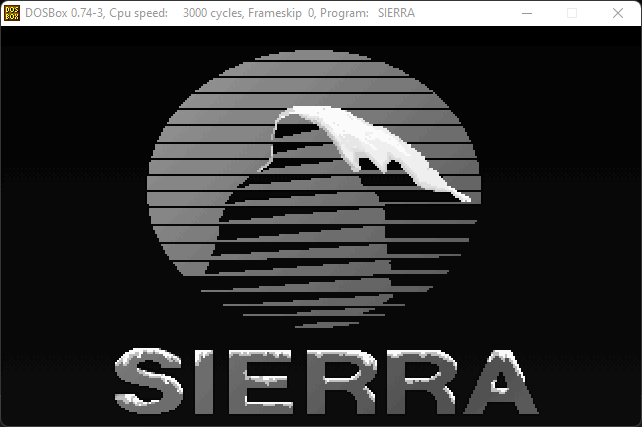
Setup the program to use the following hardware devices.
- Graphics: VGA or IBM PS2 - 256 Colors
- Music: General MIDI Sound Driver
- Speech: Sound Blaster
- Joystick: Don’t use a joystick
- Mouse: Use Microsoft compatible mouse
- Memory: Use your machine’s extra memory
Then navigate to the Accept these choices and save configuration item and press Enter.
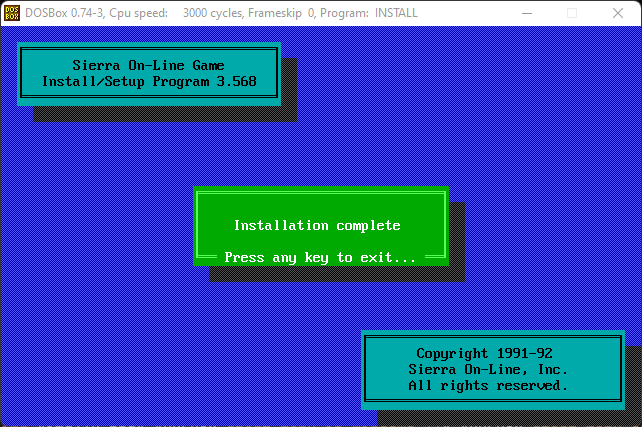
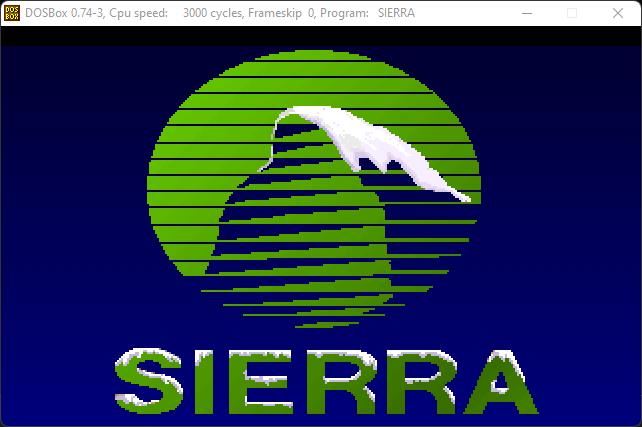
Back at the DOSBox prompt, run sierra. A nostalgic visual and audio Christmas card will greet you if everything goes well.
You can quit the program anytime by pressing Esc. And return to the install program to play with the different graphics, music, and sound options to see their effects with the card.
Enjoy. I have more updated tutorials covering the functions and operations of DOSBox.
Written by Ben Garrett
