PCem
Emulate the Tandy 1000 or MS-DOS on an 8088
7 minutes
Oct 2022: Fixed, out of date and broken links
Tip using Ko-fi or Buy Me a Coffee
PCem is an IBM PC emulator for Windows and Linux released under a GPL license. Unlike other solutions, such as DOSBox or SCUMM, it doesn’t simulate an operating system or game environment. It is a classic emulator designed to emulate 8/16/32-bit x86 hardware used by IBM and other clone manufactures. Therefore, it requires the originals of the machine BIOS and compatible operating system to work.
The aforementioned has both good and bad points. Depending on an original BIOS, it allows for more accurate and nostalgic emulation. However, this means it suffers from all the archaic quirks and configurations that x86 hardware suffered with during the era.
For this reason, I have chosen to emulate a Tandy 1000 personal computer running MS-DOS version 2. It is a well-documented and simple system with a lot of resources online. This guide will teach you how to set up the emulation in PCem. And how to convert zipped archived MS-DOS programs hosted online into a floppy disk image for use with the emulation. I also assume you have some essential DOS or Windows command prompt knowledge.
Install PCem
So we begin by downloading PCem. I will be using PCem v12 for Windows, and it is a portable application usable from any directory.
The extracted program includes three sub-directories.
src\- The PCem source code, which you can delete.nvr\- Stands for nonvolatile random-access memory and is where PCem keeps the emulated machine save states, such as BIOS changes.roms\- ROMS are where PCem keeps the read-only BIOS programs. The BIOS program tells the computer how to boot and launch the operating system. As BIOS is copyrighted software, PCem does not package them.
Also worth looking at is the readme.txt that lists all the hardware that PCem emulates.

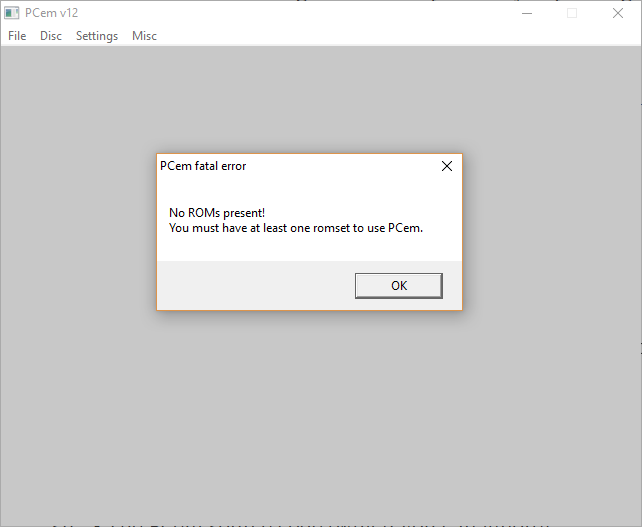
Like the era of early personal computers, PCem could be more user-friendly. When you start PCem for the first time, it will exit because it cannot find any ROMs to use.
Emulate the Tandy 1000
The Tandy 1000 was a series of 16-bit x86 MS-DOS consumer PCs created by Tandy Corporation (RadioShack) from 1984 until the end of the decade.
You can download the Tandy 1000 ROM trom102.zip from Tvdog Archives and copy its single ROM file, TANDY1T.ROM into the PCem rom\tandy\ directory.
According to the PCem readme.txt, you need to rename TANDY1T.ROM to tandy1t1.020.
Tandy 1000 (1984)
This is a clone of the unsuccessful IBM PCjr, which added better graphics and sound to the XT,
but removed much expandability plus some other hardware (such as the DMA controller). The Tandy
puts back the DMA controller and ISA slots, making it a much more useful machine. Many games
from the late 80s support the Tandy.

ROM files needed:

tandy\tandy1t1.020

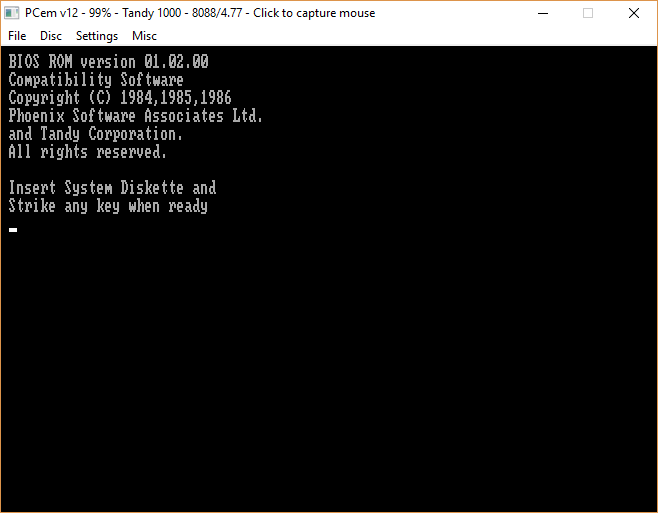
Running PCem will now automatically launch the Tandy 1000 emulation. But it may take a while as it’s accurately emulating the relatively slow boot of a 4.77 MHz 8088 CPU from 1979. But the emulation still lacks an operating system, so it doesn’t do much except throw an error prompt.
You can speed things up by opening the Settings menu and choosing Configure…. From there, change the CPU from the authentic 8088/4.77 (4 MHz) to 8088/16 (16 MHz) for nearly four times the performance boost! If only it were that simple back in the day.
MS-DOS
Fortunately, the original Tandy 1000 operating system is online for download. Again it is still under copyright, and though unlikely, a copyright holder may decide to re-enforce that commercial ownership in the future.
In the PCem directory, create a subdirectory to store the Tandy 1000 operating system. I use C:\PCemV12Win\floppy\tandy\. Extract d1000.zip to the directory, inside you will find two .DSK files and a README.TXT.

The images are raw-copies of the original 360kb floppy disks included with the Tandy 1000 computer. These will work with PCem, but they need to use a .IMG, .IMA or .FDI filename extension. So in a command prompt, rename the two files with .DSK extensions to .IMG.
c:

cd \PCemV12Win\floppy\tandy

ren *.DSK *.IMG
Now in PCem open the Disc menu and select Change drive A:..
Select c:\PCemV12Win\floppy\tandy\MSDOS.IMG.
If your mouse gets captured by PCem, click the middle mouse button or tap Ctrl+END to return it.
Now go to the File menu and select Ctrl+Alt+DEL to reboot the emulation with MS-DOS.
Press
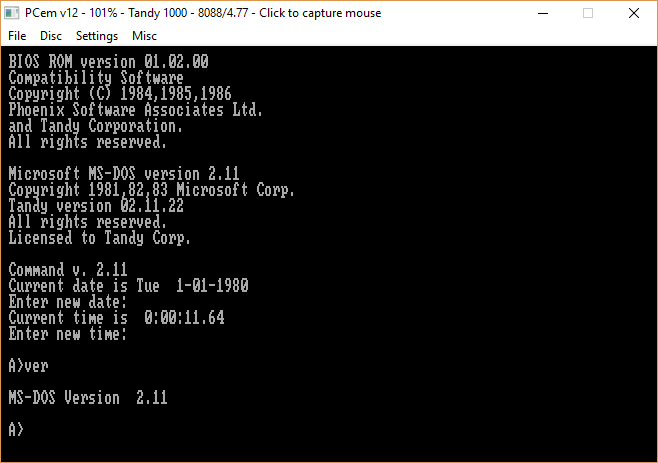
Enter to skip the prompts for the current date and time. Now you should be in a MS-DOS prompt at the A drive. You can play around with some DOS commands.
# print the version of MS-DOS
ver

MS-DOS Version 2.11
# clear screen
cls
# list directory
dir
DeskMate
MS-DOS version 2 is bare-bones, but it now allows us to launch other software for the DOS platform.
Open the PCem Disc menu and select Change drive B:….
Select c:\PCemV12Win\floppy\tandy\DESKMATE.IMG.
Now at the A> DOS prompt input B:.
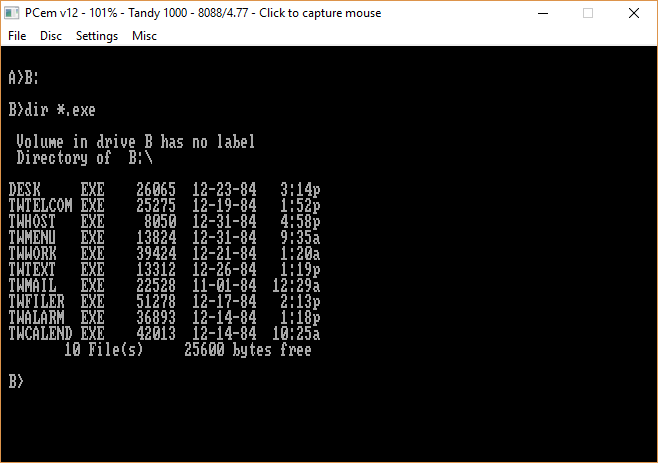
The command dir *.exe will list ten different executable programs. Much like in 1984, we have to take an educated guess and assume DESK.EXE is the correct executable to launch DeskMate.
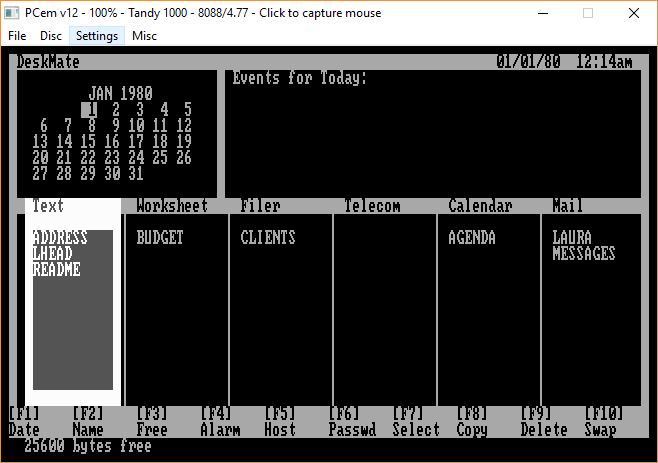
DeskMate is typical of home productivity software of the era, clunky and somewhat pointless. If you want to embrace 1984, the original Tandy 1000 PDF manual 1kguide.zip has a walkthrough. Chapter 3 covers DeskMate usage. Otherwise, tapping the F12 key should exit, but it doesn’t seem to work for me. I have to use the File Ctrl+Alt+Del menu option to soft-boot the emulated computer.
System configurations
PCem has an open method of dealing with various system configurations. I try to be as descriptive as possible when naming these saves. First, create a new subdirectory within c:\PCemV12Win called configs.
In PCem, open the Settings menu and select Save configuration…. Navigate to configs, name the configuration tandy 1000 deskmate 1.cfg, and save.
Now in PCem, open Disc and select Eject drive B:. Then open Settings and choose Save configuration…. This time in configs, save the configuration as tandy 1000 msdos 2.cfg.
You can now switch between both configurations by opening the Settings menu and using the Load configuration… option. Changing configurations will reboot the emulation.
Floppy disk images
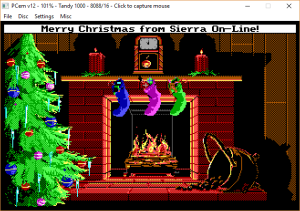
Let’s run another piece of software that takes advantage of the Tandy capabilities. Download the Sierra Online 1988 Xmas card. Extract sierra.zip to a directory. Unfortunately, it comes in a ZIP format, not a floppy disk image format that our Tandy 1000 requires.
WinImage
The only helpful tool for this task on modern Windows is WinImage, a $ 30 USD shareware that was last updated in early 2013. But download, install WinImage, then run it.
- In WinImage, open the File menu and select New.
- Select 360 KB standard format and OK, as that is what the 1984-era Tandy 1000 uses.
- Open the Image menu and choose to Inject a folder….
- Browse to the extracted
sierra.zipdirectory and select it. - It should ask you for a confirmation to inject 25 files; click Yes.
- Open the File menu and choose Save As….
- Browse to the
c:\PCemV12Win\floppy\tandy\directory. - Change the Save as type to Image file (*.ima).
- Type in a file name,
sierra xmas.ima, and Save.
Test using a Sierra On-Line demo
- Back in PCem, open the Disc menu and select Change drive B:….
- Browse for and choose
sierra xmas.ima. - In the DOS prompt, run the following.
# change to floppy drive B
B:

# list the executable files
dir *.exe

# run the install executable file
install
That will launch the 3D Adventure Game Setup/Installation Program from Sierra On-Line, Inc.
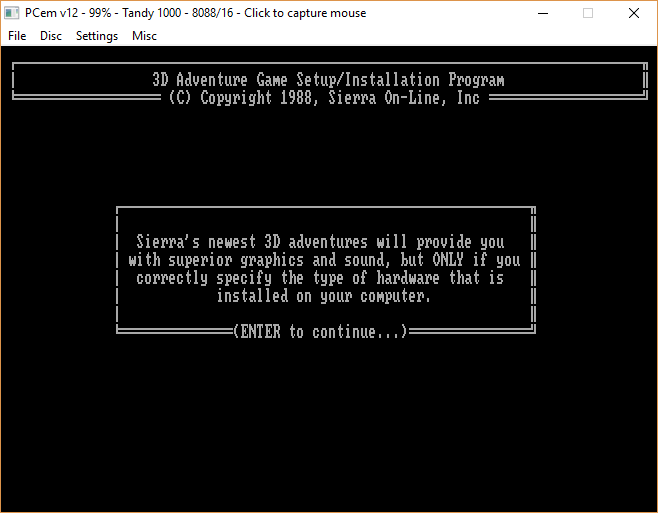
Tap Enter to continue.
On the following Adapter/Monitor selection, use the - (minus) key on your numeric keypad to navigate the options, select Tandy 1000 with RGB monitor, and press Enter.
On the music/sound selection, choose IBM PCjr or Tandy 1000 Internal Speaker, and Enter.
Then select the Tandy 1000 Keyboard and Enter. You can finally use the arrow keys for the rest of the menu.
Select No and Enter for the IBM-compatible joystick.
Select No and Enter for the MicroSoft compatible mouse.
When asked to install the game on a hard disk, tap the Esc key.
Press Enter when Setup is complete.
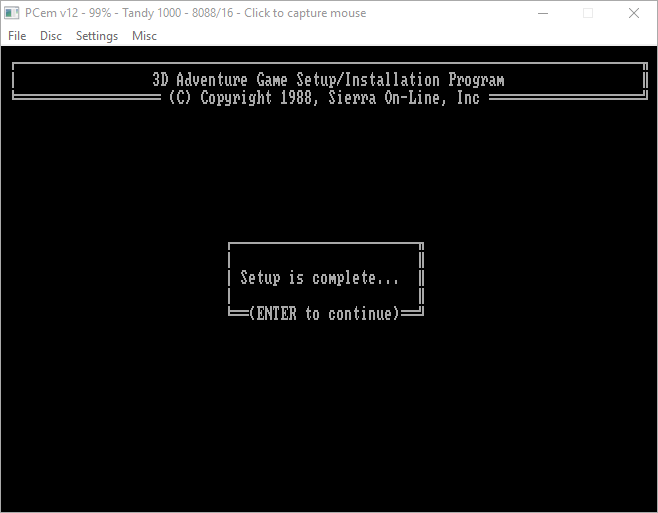
Now back at the DOS B> prompt, type XMAS and
Enter to launch the surprisingly long Sierra Christmas Card from October 1988.
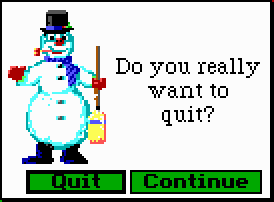
At any time, you can tap Alt+Q to quit.
All done
Well done, you now have a working Tandy 1000 MS-DOS emulation. There are many more programs and files to play around with at Tvdog’s Archive.
In a future post, I will run through how to create a companion configuration of a generic IBM PC/XT with both a floppy and hard disk running DOS.
Written by Ben Garrett
